
Installing a fibreglass swimming pool can be easy. A swimming pool builder can provide a family with a lifetime of enjoyment and great memories in less than a week! Most families who purchase a swimming pool have been dreaming and saving for many years; therefore, the reward of a successful pool installation is shared by both the homeowner as well as the installer.
The goal of this article is to provide a fibreglass swimming pool installation process that not only sounds easy to the customer, but also delivers a spectacular end result. Having a better understanding of the makeup and design of a fibreglass swimming pool can make a swimming pool builder a better installer.
Step 1 – Assessing the Site
A fibreglass swimming pool shell is a large object. Many dealers have been disappointed at the last minute after discovering that the pool is not capable of being craned over the house due to obstructions such as overhead wires, branches (which may need permits to cut), or simply because the driveway that will not withstand the crane’s weight.
Site access is also important when it comes time for excavation. Therefore it is important to take the space between the two houses into consideration when sizing the necessary equipment for excavation and fill removal. You will need to make sure you neighbour is okay with the builder using their property with the understanding that there may be damage to their lawn.
Step 2 – Laying Out the Swimming Pool
Swimming pool layout is done by way of a dig sheet, which comprises a formulation of measurements describing a pool’s shape in 3-D. Once the layout is determined, a string line is normally run down the center where the pool is to be placed and measured off from each side.
The final grade of the fibreglass swimming pool is very important. If the builder is not providing landscaping and the customer has not yet secured a landscaper, then it is recommended that the pool be installed so the top of the fibreglass swimming pool is 1 inch below the homeowners existing patio. This will allow room for a coping stone (which is normally 50-75mm thick) to be fastened to the top of the fibreglass lip and will still provide a slight fall away from the pool.
To ensure this is completed properly, it is important to consult with your builder on the project’s final grade and place a benchmark that can be easily identified later to eliminate any discrepancies after the pool is installed.
Step 3 – Excavating the pool
For those builders who have their own heavy equipment and time to operate it, the excavation process can be their favorite part. When pricing the total cost of your fibreglass swimming pool project, your Leisure Pools Dealer will take into account the cost of a dump site if needed.
Step 4 – Setting the base
This is the most important part of the fibreglass swimming pool installation. The excavation can be close but the base needs to be perfect! You will often see builders achieve this through the construction of a “rail system”. To do this, they will often build two long rails using 90×45’s and lay one on each side of the excavation. Then they fasten the rails to vertical 45x45mm stakes, and as per dig sheet specifications, tap them into position while using the laser level to ensure accuracy.
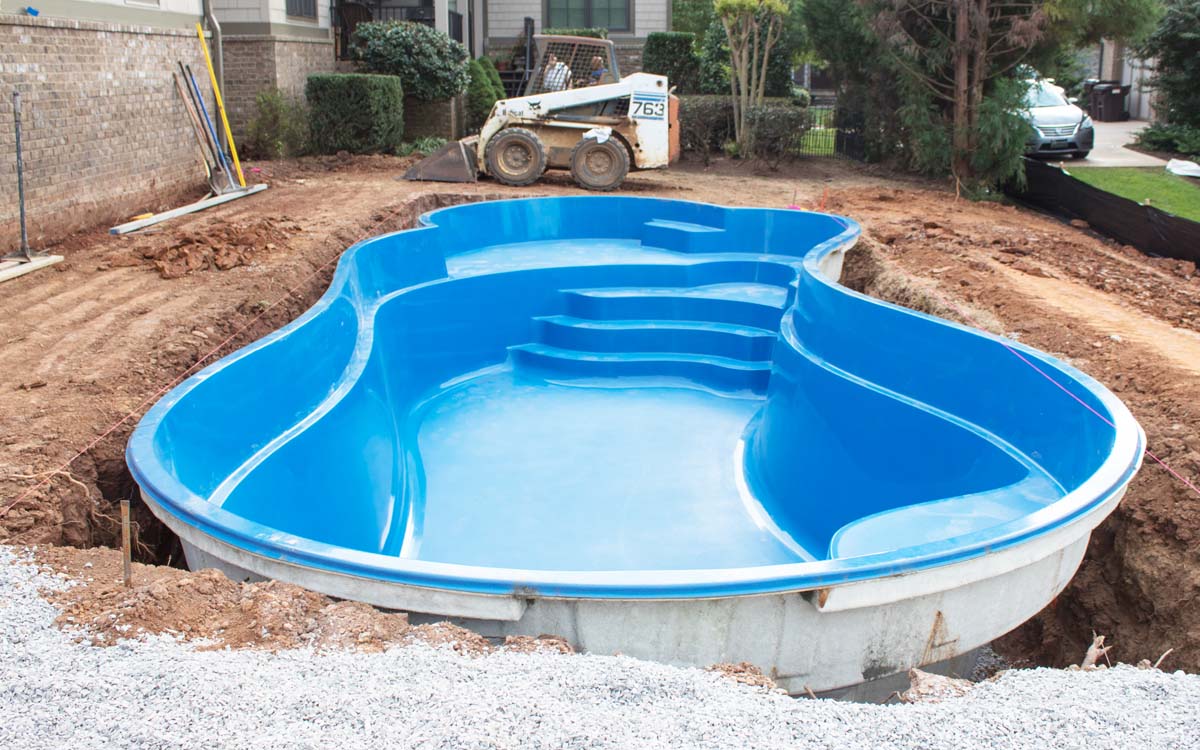
Step 5 – Craning and Setting the Swimming Pool
This for most homeowners is the most exciting part of their fibreglass swimming pool installation. The Leisure Pools Dealer will often consult (and possibly pre-visit) your site with a crane company to ensure that the proper machinery is being used. If access or height is ever in question, you will often see an upsized piece of equipment in your yard.
The fibreglass swimming pool is then hooked by straps to the crane and lifted off of the truck. Whether through the air, over a house or just through the yard this is often where the oooh’s and aaaah’s of the neighbours come into play.
Once the pool has been lowered into the excavation area, it should be pretty close to being level. However, should minor adjustments be necessary, they can be made easily at this time. Once satisfied the pool is perfectly level, your Leisure Pools Dealer will proceed with backfilling.
Step 6 – Backfilling
Simultaneously the fibreglass swimming pool will be filling with water while the backfilling occurs. This is done to ensure equal pressure and maintain stability during the backfilling process. You will notice that your Leisure Pools Dealer will give special attention to the stair and seating area. Once the pool is backfilled to approximately 2 feet from the top, this provides a good opportunity to cut in the returns, lights, therapy jets and skimmer.
Step 7 – Plumbing the pool
Although plumbing the swimming pool is not difficult, the task is always done with attention to detail. There are few things worse in this business than to discover a leak after the deck and landscaping has been completed. You will see your swimming pool builder smooth the backside of the pool and also use a high quality silicone caulking to provide an excellent seal.
For fibreglass swimming pools with bench areas, therapy jets are a nice addition. It is important to note and discuss any additions or upgrades you may want to make to your fibreglass swimming pool in the future. This way you can ensure that all pre-plumbing that may be necessary (and costly after the fact) is done and prepared. Once this is complete, the hardscape is now ready to be done.
No one likes to delay a construction process. Depending on access, a proper fibreglass swimming pool installation should take no more than three to five days (not including hardscapes). Having an understanding of the process and proper planning and expectations before can create a seamless fibreglass swimming pool installation and enjoyment for years to come.


